Train an employee before promoting them if you want the highest possible stat cap. The developer explains that training helps raise the employee's growth limit after promotion, and part of the stat gain carries over. Promotion resets the visible training levels, so a newly promoted worker may briefly perform worse even though they have more room to grow.
This is the reason to separate three decisions: recruiting a worker, training that worker and promoting that worker. A rarer card is not a complete training plan. Check the worker's current role, invested levels and next promotion before spending. The explanation below follows the developer's September replies and updates through 1.0.61, checked on 3 October 2026. Read the developer's training explanation.
The promotion rule that matters most
When you promote an employee, the level shown on their card can return to the beginning of the new training stage. That reset is visible and easy to mistake for lost progress. The developer describes a different process underneath: some of the previous stat gains carry forward, and training before promotion helps raise the cap available afterward.
That distinction changes the order of your decisions. If you are developing a worker for their long-term potential, check and complete the training you want to invest in before pressing promotion. Do not promote immediately simply because the next rarity becomes available. A worker promoted too early may still function, but the developer's advice for the highest possible cap is to level them first.
The developer does not publish a complete carry-over percentage or a universal growth formula in that reply. You cannot calculate an exact final movement speed from the rarity alone using these sources. The useful, confirmed instruction is the sequence: train first, then promote, then expect to train again within a higher growth limit.
There is also a short-term trade-off. The worker's ability may dip right after promotion. If that employee is your only person handling a busy station, plan the change between shifts and be ready to help. This is a planning recommendation based on the developer's description of the temporary dip, rather than a claim that every promotion produces the same-sized reduction.
Read the card before changing the card
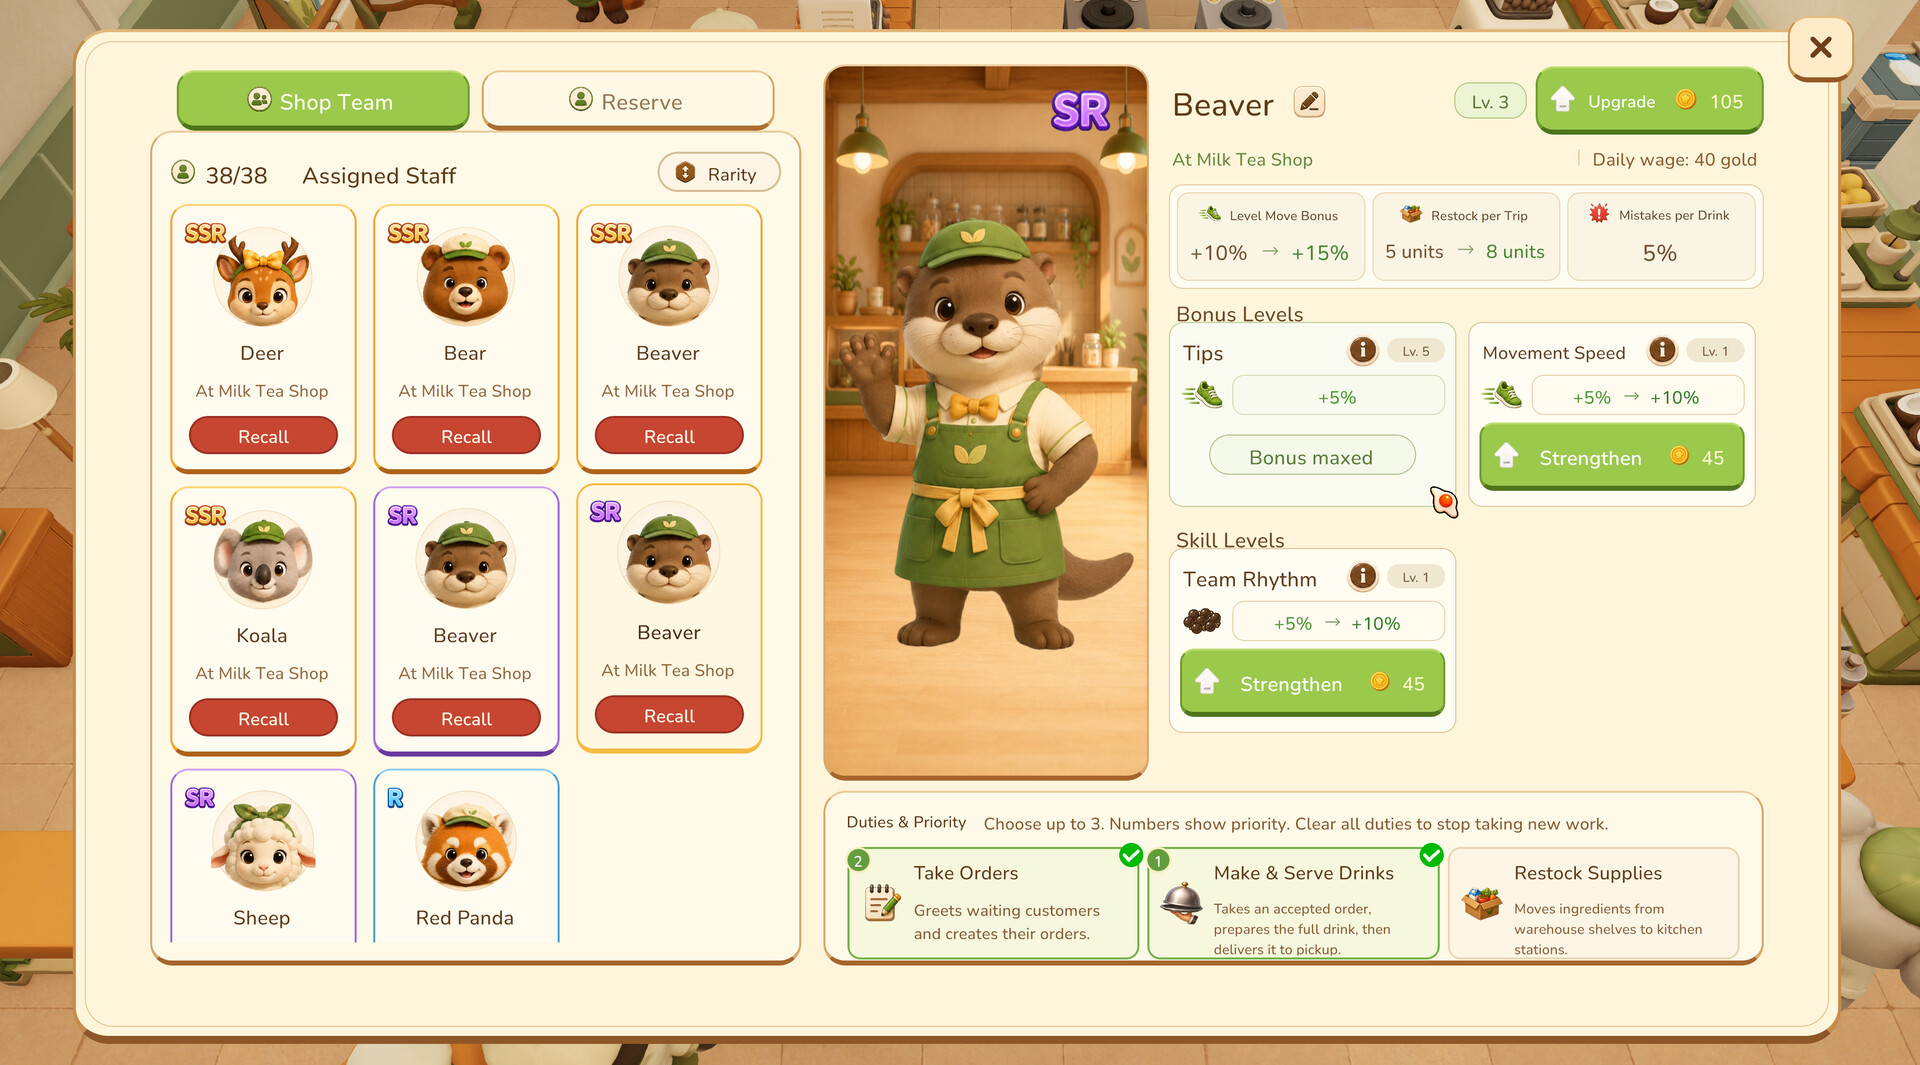
Use a short inspection before every training or promotion decision. Identify the employee, the work you expect them to do and the training stage they are currently in. You are deciding whether this particular worker should receive more investment, not whether a rarity looks attractive.
A useful notebook has five entries: the worker's name, assigned job, current visible level, the reason you want to keep them and the next change you intend to make. Record values from your own game. Those values are more useful than a copied screenshot from another restaurant, difficulty or patch.
Look at the worker before and after promotion using the same observations. Did the visible level reset? Did the displayed attributes change? Is the worker doing the intended job? The first change can be expected under the developer's explanation. The last question can reveal a separate assignment or layout problem that promotion will not solve.
Avoid comparing a promoted worker on a crowded shift with their earlier performance on an empty floor. Customer flow, supplies, workstation access and other employees can change the result. If you want to understand the change, keep the surrounding conditions as similar as practical and write down what you changed.
This inspection is not a hidden-stat test. It is a way to avoid losing track of your own roster when the employee list becomes large. If you cannot confidently identify the worker you intended to train, stop the upgrade sequence until you can. A few seconds of checking is cheaper than making the next decision on the wrong card.
A repeatable training and promotion routine
- Find the worker you want to develop and confirm their current assignment.
- Check their visible training level before touching promotion.
- Apply the training you want to invest in for that stage.
- Review the new card values and your remaining shop budget.
- Promote when you are ready for the next stage and a possible immediate performance dip.
- Recheck the card, assignment and new visible training levels.
- Train the promoted worker again rather than assuming the higher rarity is finished.
Use the same routine each time another promotion becomes available. The developer's explanation is about the effect of training before promotion; it does not provide a shortcut that removes the new training stage. Repeating the check makes the sequence understandable even when the interface shows a reset.
This routine does not mean that every recruited employee deserves full investment. Decide who you want to keep before spending heavily. A worker you intend to replace immediately is a different budget decision from one you want to develop over several stages. The game has randomized upgrade choices, so long-term planning also needs room for a result you did not prefer.
It is tempting to upgrade several employees at once and examine the results afterward. A smaller batch is easier to understand. Develop one employee whose role you can recognize, check the result and then move to the next. Use batch features to reduce repeated clicks once you know which workers belong in the batch.
Why an employee may feel weaker after promotion
The most direct explanation is the visible training reset described by the developer. Their September 26 reply says performance may dip immediately after promotion while the new growth limit is higher. The follow-up reply on September 27 clarifies that prior training is not wasted.
A worker appearing weaker does not establish that the game deleted every invested gain. It also does not establish that you should undo your whole restaurant layout. Read the card first and compare the worker's new training stage with the old one. Then check whether you have actually trained the new stage.
Next, inspect the employee's route and job. A worker with more potential can still be unable to reach a cup rack, shelf or workstation. A job that is assigned incorrectly can also make an otherwise capable employee appear idle. Training and promotion do not replace those operational checks.
Finally, distinguish slow performance from a complete stall. If the worker moves and completes work but feels slower, the new training stage may be relevant. If they remain stuck carrying an item or repeatedly fail to reach a station, look at the kitchen layout guide. The developer has acknowledged staff-stalling bugs, so a clear path does not prove that every problem is caused by player error.
Direct recruitment and long-term development
Players have asked why a directly recruited higher-rarity employee can differ from one developed through earlier stages. The developer's confirmed answer gives you a principle for evaluating that question: previous training affects later potential. It does not provide a complete table comparing every starting rarity.
For a worker you plan to keep, the important question is therefore what training happened before each promotion. Record the history you can actually see or remember. A fresh card and an employee with a long development history are not automatically equivalent merely because the same rarity is displayed.
Do not turn this principle into an unsupported rule that all directly recruited higher-rarity workers are useless. A new recruit may cover an immediate staffing need, while a trained worker may serve a longer-term development plan. The right choice depends on the job you need filled, your current roster and the money available for further training.
Likewise, this guide does not claim an exact maximum number of perks for every route or that every employee can be promoted into the same top rarity. Those details require a current, complete in-game table. Use the developer's training sequence without adding an unconfirmed destination to it.
Recruitment costs: the first 100 pulls
The developer explains a specific price change that confused players: the first 100 recruitment pulls have a discounted price, after which the cost rises from 140 to 200. That increase is a discount ending, not evidence that the game improved the chance of a rare recruit.
If recruitment suddenly feels more expensive, check how far you have progressed through that introductory discount before assuming a bug or a change caused by your restaurant size. Keep the price currently displayed in your game as the amount to use in your next purchase decision.
Repeated recruitment affects more than the purchase total. You also need time to inspect the results and decide which workers fit your restaurant. Recruiting faster than you can organize the roster can make it harder to identify the employee you meant to keep or train.
Set a spending limit before you begin recruiting. Choose the amount yourself from the shop budget; this guide does not prescribe a guaranteed profitable number of pulls. Leave enough money for the next shift, any planned event fee, ingredients and the employees already in service. The budget guide includes a worksheet for those checks.
Team perks and duplicate effects
Upgrade perk choices are randomized. The developer also explains that perks which do not stack generally benefit the whole team, so one such perk can have a strong effect. A duplicate non-stacking effect should not be treated as a second copy of the same bonus multiplying your result.
Before choosing a perk, read its current description and consider the effects already present on the team. You are making a team decision as well as an individual-card decision. A powerful effect that is already covered may answer a different need from a useful effect you do not yet have.
The official replies do not provide a probability table for the upgrade choices. A frustrating run of duplicate options does not let you calculate the underlying odds. Avoid a roster plan that depends on receiving one particular perk on the next upgrade.
Keep separate notes for individual improvements and team effects. This makes it easier to see why two workers with similar-looking cards may contribute differently. It also prevents you from assuming every displayed bonus stacks just because more than one employee has it.
The 1.0.32 update added toggles for Topping Expert and Seasoning Expert. If one of those skills affects a task you want to handle differently, inspect the available setting rather than assuming the only option is to discard the worker. The patch confirms those switches; it does not describe an unrestricted reroll or perk-removal system. Official update history.
Assign a useful job before adding another worker
The official store describes staff who can take orders, prepare ingredients, cook, serve, restock and organize supplies. Hiring creates a potential helper; your assignment and the layout determine whether that helper can perform the work your restaurant needs.
For the sushi restaurant, the developer explicitly says to assign jobs and work priorities in employee management. If staff are not making sushi, check those settings together with the conveyor quantity presets. A new recruit will not repair a preset that prevents further dishes from being put on the belt.
Use the current bottleneck as the reason for adding a worker. If customers cannot enter, staffing is not the first fix. If ingredients cannot be reached, a new maker may simply join the same blocked route. If there is no free destination for a carried item, faster movement does not create one.
Observe one shift before deciding that more employees are necessary. Note where work waits: taking an order, getting ingredients, using a station, carrying the finished dish or serving it. This observation is a planning method, not a claim that one fixed staffing ratio fits all shops.
A useful assignment review ends with a sentence you can explain: this worker handles this task because that task is currently waiting. If every employee has been assigned the same work without checking the rest of the service chain, examine the priorities before spending again.
Take Over can fail for a specific reason
When asked why Take Over did nothing, the developer gave a concrete condition to check: there must be an empty table where the employee can put down the item they are carrying. If every table is occupied, the employee has nowhere to place the item, so the order cannot be taken over.
That check matters because the button can look like a staff problem even when the immediate issue is a missing destination. Before repeatedly pressing it, look for an available table and confirm that the surrounding route is usable. Do not assume that a more highly trained employee bypasses the condition.
The player who raised the issue believed they already had empty counters, so the discussion does not prove that this single check resolves every failed attempt. Treat it as the developer's first diagnostic step. If it remains reproducible, note the version and what was happening around the worker.
For the sushi restaurant, also separate taking control of a task from completing a customer's order. A dish being prepared or placed at a serving counter is not the same as final delivery. The sushi order guide follows those states in detail.
Use the management improvements in the right order
The 1.0.19 update added one-click employee level upgrades and batch employee management. It also says employee salary automatically adjusts after promotion. Those changes reduce management friction, but the cost and effect of the intended action still need checking.
Use the faster upgrade feature after selecting the worker you actually mean to train. Use a batch operation after confirming the group contains the employees you intend to change. Convenience makes repeated actions quicker; it does not decide whether a worker should receive the investment.
Check payroll again after promotions. A budget written before the roster changed may no longer describe the next shift. The patch establishes salary adjustment after promotion, so reserve room for the amount your current game displays rather than using an old screenshot.
The 1.0.41 update added employee status tracking. Use the status information to investigate what the worker is doing instead of relying only on where the model happens to be standing. The same update contains several fixes around cups, walls, shift-end slots and restocking; those fixes are a reason to check your version before following an old workaround.
Staff limits are ceilings, not hiring targets
As of the 1.0.61 update, the milk tea shop employee limit changed from 42 to 82. This is a current limit reported by the official patch, not a recommendation to fill every available position.
The number of employees you can hire and the number you can use effectively are different decisions. A small shop with blocked routes, empty supplies or an unsuitable menu will not become efficient simply because the limit increased. Consider the workspace and budget before growing the team.
Old guides and earlier patches can show different capacities. Use the milk tea shop's current display alongside the latest update rather than carrying an old limit into a new plan. This guide does not assign an unverified current numerical limit to the sushi restaurant.
The 1.0.32 update also changed multiplayer player-slot occupation, stating that players occupy up to five employee slots and that Casual Mode has no deduction. Check the current staff display when friends join, particularly if you are close to capacity. Do not assume an empty-looking roster can always accept the same number after the session changes.
Example: developing one keeper without disrupting service
Suppose you have a worker you want to keep and a promotion becomes available. Start by recording their current level and role. Decide whether you are aiming for the highest possible later stat cap; if so, follow the developer's advice to train before promotion.
Check that the shop can still perform that role if the worker's immediate ability dips. You might help at the station during the next shift, or you might wait until your budget allows further training after promotion. These are optional ways to plan the transition, not required game mechanics.
After promoting, compare the card again. A reset visible level matches the process described by the developer. Begin the new training stage and reassess the displayed salary before opening. Then watch whether the worker can reach the station and finish the assigned work.
Use the values on your own card for each comparison. A worker's immediate speed, available training and displayed salary give you a useful before-and-after record. Follow the same sequence with your next keeper, checking your current save and version as you go.
Example: a busy shift with several idle employees
Adding more people is not the first diagnostic step. Check the tasks those employees have been assigned and the routes they need to use. In the sushi shop, inspect the conveyor presets with empty hands and check whether the configured quantity is preventing more dishes from being added.
If the staff are carrying finished items, examine the next destination rather than repeatedly training them. If Take Over is unavailable, check for an empty table as the developer recommends. If the problem begins after a layout change, review the path to shelves, cups and equipment.
Only after those checks should you decide whether the roster truly lacks a person for a task. Training addresses a worker's development; hiring addresses a staffing need; moving equipment addresses access. Keeping the three actions separate makes the next choice much clearer.
If the employee still stalls with valid settings and reachable equipment, record the conditions for a bug report. The official replies acknowledge this type of issue. This guide does not label every stalled worker as a mistake you made.
Questions before the next promotion
Ask whether this is the worker you intend to keep, whether the current stage has received the training you want and whether you can afford the changed payroll afterward. Then check how the shop will handle the worker's role during any immediate dip.
Read the offered perk choices in the context of the whole team. Remember that duplicate non-stacking effects do not become additive merely because they appear on another card. Keep a flexible plan when the desired option is not offered.
Finally, check the actual bottleneck before promoting for a supposed service improvement. A worker unable to reach a station needs a route diagnosis. A conveyor set to the wrong quantity needs a preset review. A staff-development decision should solve a development problem.
Frequently asked questions
Does promotion erase all my earlier training?
The visible training levels reset, but the developer says some stat gains carry over and prior training raises the later cap. Do not equate the displayed level reset with losing every benefit.
Should I train before promoting?
Yes, if your goal is the highest possible stat cap. That is the developer's explicit advice. The amount carried over and the full growth formula are not provided in the reply.
Why did recruitment become more expensive?
The developer says the first 100 pulls are discounted. The increase from 140 to 200 is explained by that discount ending, not by a confirmed improvement in rare-worker odds.
Why does Take Over do nothing?
Start by checking for an empty table where the worker can put down their carried item. That is the developer's explanation of one failure condition; persistent problems may need further investigation.
Should I hire all 82 milk tea employees?
The latest milk tea limit is 82, but a limit is not an optimal staffing plan. Hire for a clear task and a workable route, and check the ongoing budget.
Can I reroll every unwanted skill?
Read the options available in your current game before planning to replace a skill. Topping Expert and Seasoning Expert received switches in 1.0.32; switching those effects on or off is different from rerolling every perk.
A closer look in game
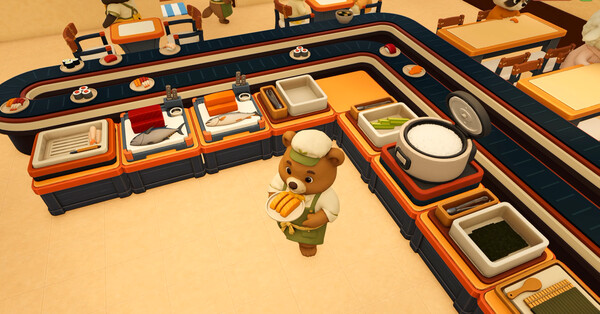
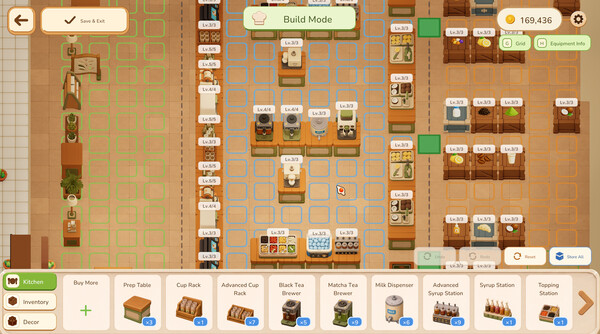
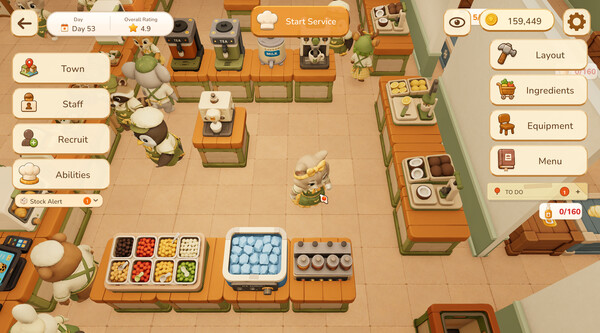
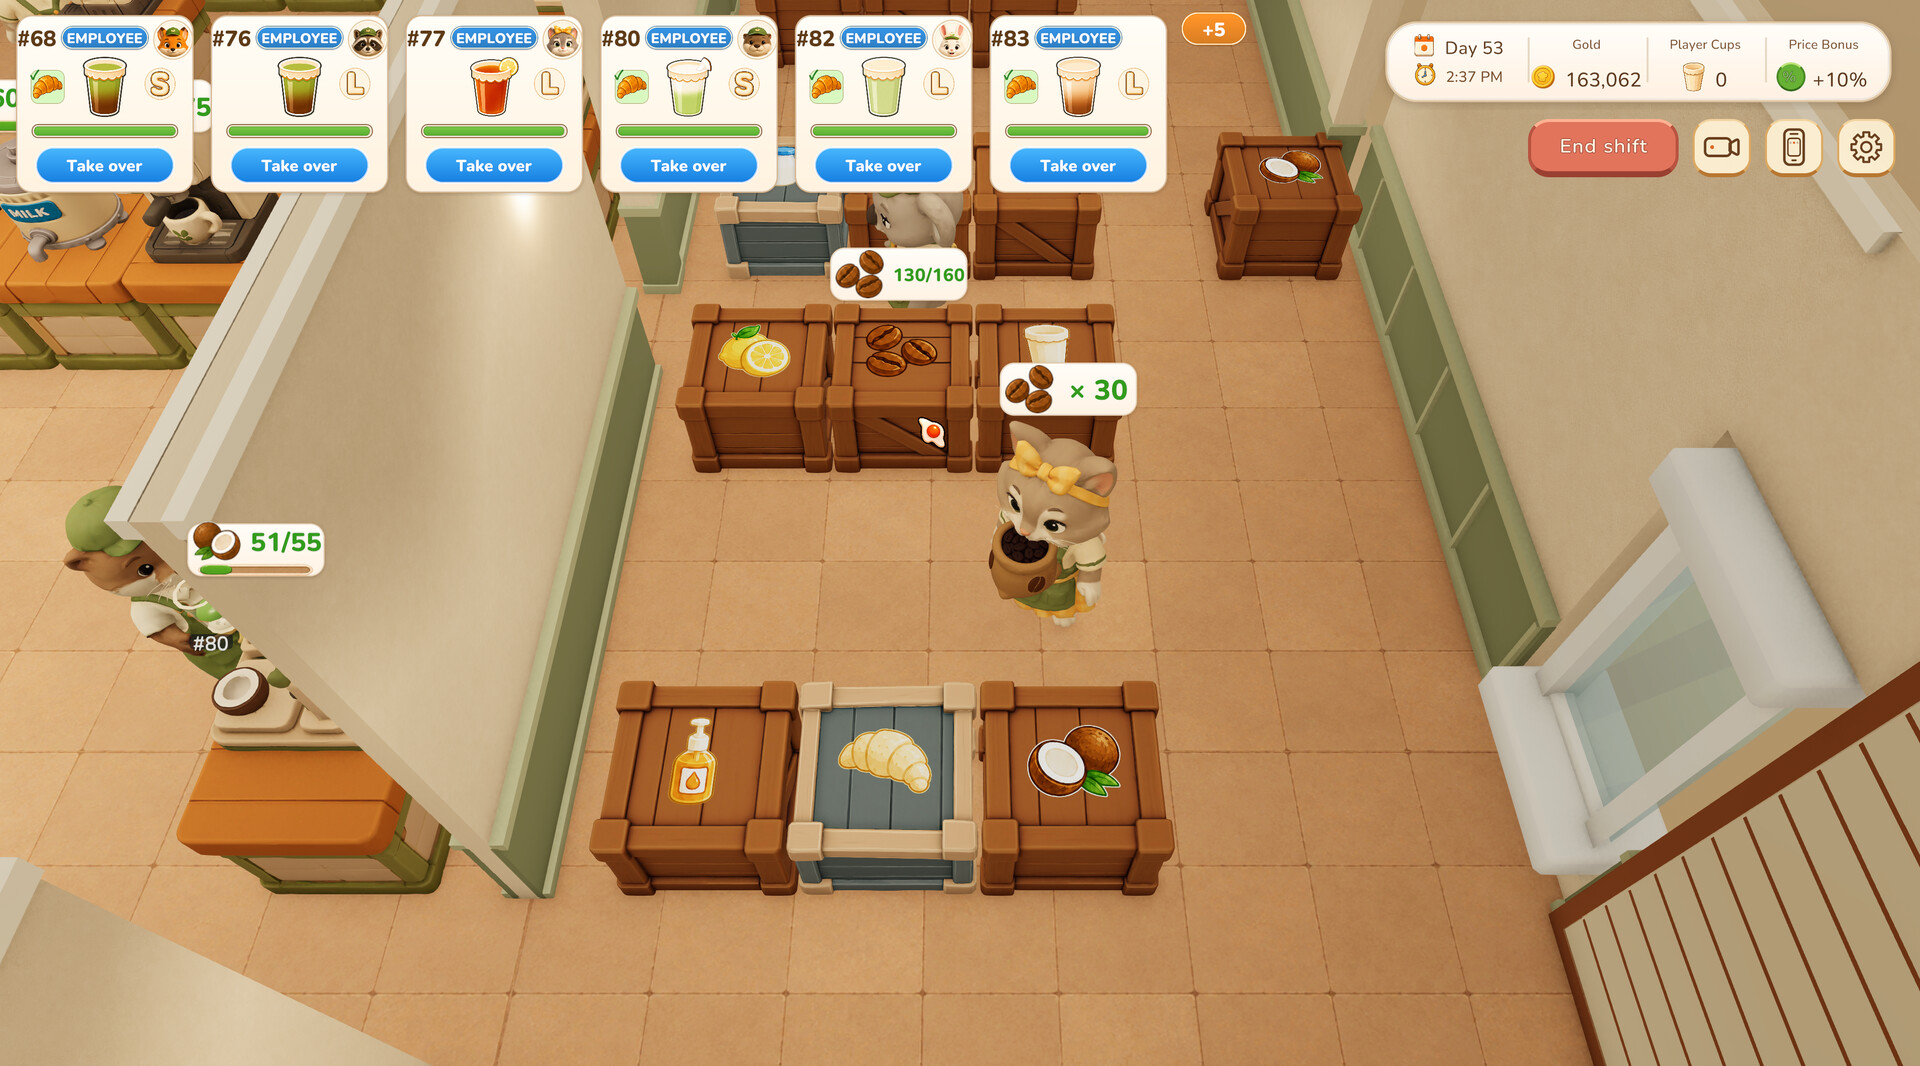
Official promotional screenshots show the setting and interface. Visible values may come from an earlier build; use your current game and the cited patch notes for limits and stats.
Official reading
These game pages, developer replies and patch notes support the mechanics discussed above. Planning examples are suggestions; use the values shown in your own game.